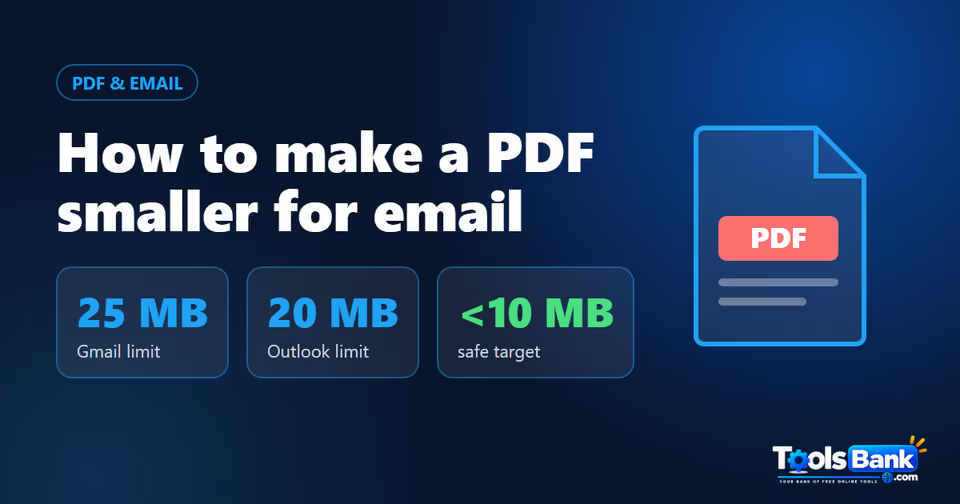
Gmail lets you attach up to 25 MB per email and the Outlook app allows 20 MB, but some work inboxes reject anything over 10 MB. So if you want your PDF to arrive everywhere, aim for under 10 MB.
The fastest fix depends on why your PDF is big. A 40-page report full of text shrinks one way; a 12-page scan from a phone shrinks another. This guide shows how to tell the difference and which free tool to use. If your file is mostly text, you can go straight to Compress PDF.
Email size limits
| Email service | Limit per email | What happens if you go over |
| Gmail (personal account) | 25 MB | Gmail removes the attachment and adds a Google Drive link instead |
| Gmail (work or school) | Set by your admin | Depends on your organisation |
| Outlook app with Outlook.com, Gmail or IMAP | 20 MB | Outlook shows an "attachment size exceeds the allowable limit" error |
| Outlook with a work (Exchange) account | Set by your IT admin, sometimes 10 MB | The same error, at the lower limit |
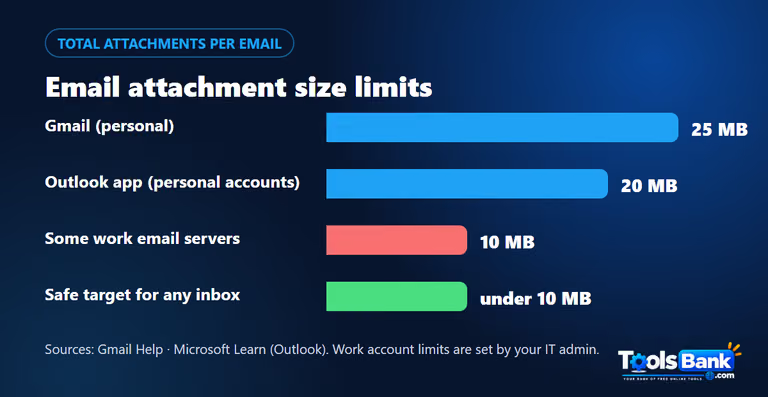
Two details catch people out. The limit is for all attachments together, not each file. And your limit isn't the only one that matters: the person receiving the email has a limit too, and you can't see it. That's why 10 MB is the safe target.
Step 1: Find out what's making the PDF big
Open the PDF Size Checker and drop in your file. It shows the total size, the page count and the average size per page.
• Under about 100 KB per page: the PDF is mostly text. Lossless compression may help a little, but if the file is big, it's because it has a lot of pages.
• About 300 KB to several MB per page: the pages are images, usually scans or phone photos. That's where the weight is, and shrinking the images is what works.
If the average looks small but the file is still big, one or two pages with a large photo or chart may be to blame. Pull a few pages out with the PDF Page Extractor and check them separately to find the heavy ones.
Most "too big to email" PDFs are scans. A phone camera or a scanner set to 600 DPI in colour can easily make 2–5 MB per page.
Which method fits your PDF?
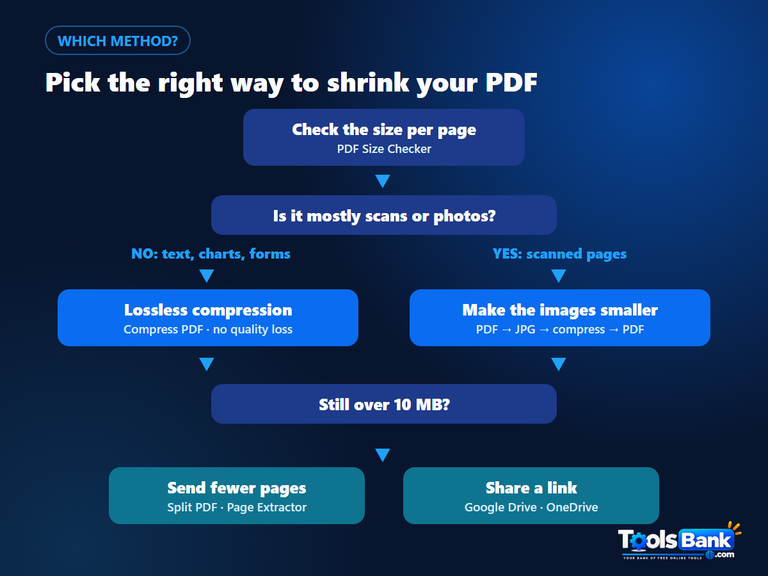
Method 1: Text, charts and forms: compress without losing quality
If your PDF was made from Word, Excel, Google Docs or a design app, use lossless compression. Our Compress PDF tool rebuilds the file with compact object streams and removes duplicate internal objects, such as the same font embedded many times.
1. Open Compress PDF and select your file (or switch to Bulk mode for several PDFs).
2. Download the result and compare the size with the original.
3. Open it and check a page or two. Nothing should look different, because no text or image is re-encoded.
Be realistic about the result: this kind of compression trims waste, it doesn't reduce image quality. On a text-heavy file that was exported badly, the savings can be large. On a file that's already lean, or one that's full of scans, the size will barely change. That's not a fault, it just means you need Method 2.
If you still have the original Word file, you can also export it again: File → Save As → PDF, then choose Minimum size (publishing online) under "Optimize for".
Method 2: Scanned pages and photos: make the images smaller
A scanned page is a photo of a page, so the only way to shrink it a lot is to store a smaller photo. Here's how to do it with free tools that run in your browser:
1. Convert the PDF to images with the JPG ↔ PDF Converter (PDF to JPG). It lets you pick an output quality, so choose a medium setting here already.
2. Resize the images with the Image Resizer. About 1,240 px wide is enough for an A4 or Letter page to print sharply at 150 DPI; 1,600 px gives you extra room for small print.
3. Compress them with the Image Compressor. A quality of 70–80% usually looks the same on screen and is far smaller.
4. Turn them back into one PDF with the JPG ↔ PDF Converter (JPG to PDF), keeping the pages in order.
One trade-off to know: after this, the text is part of an image, so it can't be selected or searched. That's fine for a scan, which wasn't searchable anyway, but don't use this method on a normal text PDF.
Scanning again? Choose 150–200 DPI and greyscale for text documents instead of 600 DPI colour. Or use the Document Scanner to turn phone photos into a cleaner PDF from the start.
Method 3: Still too big? Send fewer pages, or a link
• Send only what's needed. Use PDF Page Extractor to pull out the pages the reader actually asked for, such as the signed page or one chapter.
• Send it in parts. In the PDF Page Extractor, enter ranges such as 1-20 and then 21-40 to make two smaller PDFs, and send them in separate emails. Number them in the subject line ("Part 1 of 2"). If you need every page as its own file, Split PDF does that in one go.
• Share a link. For very large files, upload to Google Drive or OneDrive and send a link. Gmail does this automatically over 25 MB, but check the sharing setting so the reader can open it.
Common mistakes
• Zipping the PDF. PDFs are already compressed inside, so a ZIP usually saves very little, and some company email filters block ZIP files.
• Compressing again and again. Running the same file through a lossy compressor several times makes it blurrier each time. Start from the original.
• Taking screenshots of each page. It seems quick, but screenshots are often bigger than the original pages and the text can come out blurry.
• Forgetting the reader's limit. A 19 MB file may leave your Outlook and still bounce from a work inbox with a 10 MB limit.
Ready to try it? Start with the PDF Size Checker to see where the weight is, then use Compress PDF or the image method above. You'll find more step-by-step guides on the TheToolsBank blog.
Sources: Gmail Help, attachment size limits · Microsoft Learn, "Attachment size exceeds the allowable limit" in Outlook